
What is Prismic?
Prismic is a headless content management system (CMS) providing content creators with a clean and simple user interface.
What is a Headless CMS?
The term headless comes from separating the “head” (the front-end, i.e. the website) off the “body” (the back end, i.e. where the content lives). A headless CMS does not care about how or where your content gets displayed and has only one focus: storing and delivering structured content.
A headless CMS can deliver your content through an API directly to where you need it regardless of the tools and technology you have chosen to build your front-end. This gives developers the freedom to work with the tools they know and love and is ideal for building modern and performant Jamstack websites and applications.
Other Headless CMS Options
There are many great options out there when choosing your CMS and all have their differences, pros, and cons. Choosing the right headless CMS for your project will depend on a lot of things and it is worth taking the time to explore this list before making your decision.
The great thing about a headless CMS is that the choice you make does not lock you in indefinitely as the head/front-end of your website does not care where the content lives. Deciding later on down the road that a different CMS option would be better for your needs will require significantly less work to switch over than with a traditional CMS. This gives you much more freedom to try things out without a huge financial or time commitment if you change your mind.
That being said, Prismic is a great choice for most projects and this post will cover the basics of getting set up with your first Prismic repository.
Prismic Pricing
Prismic offers several pricing tiers depending on the number of users ranging from free (1 user) to $500+ for very large organizations with more complex needs and unlimited users. The free or close to free tiers offer everything you need to begin modeling and creating content and using that data in your website.
Keep in mind that these prices are per repository. You can create as many repositories as you need, but they will all be priced individually.
Creating Your First Custom Types
Once you have signed up for an account, chosen your pricing plan, and named your repository, your next action will be to create your first custom type.
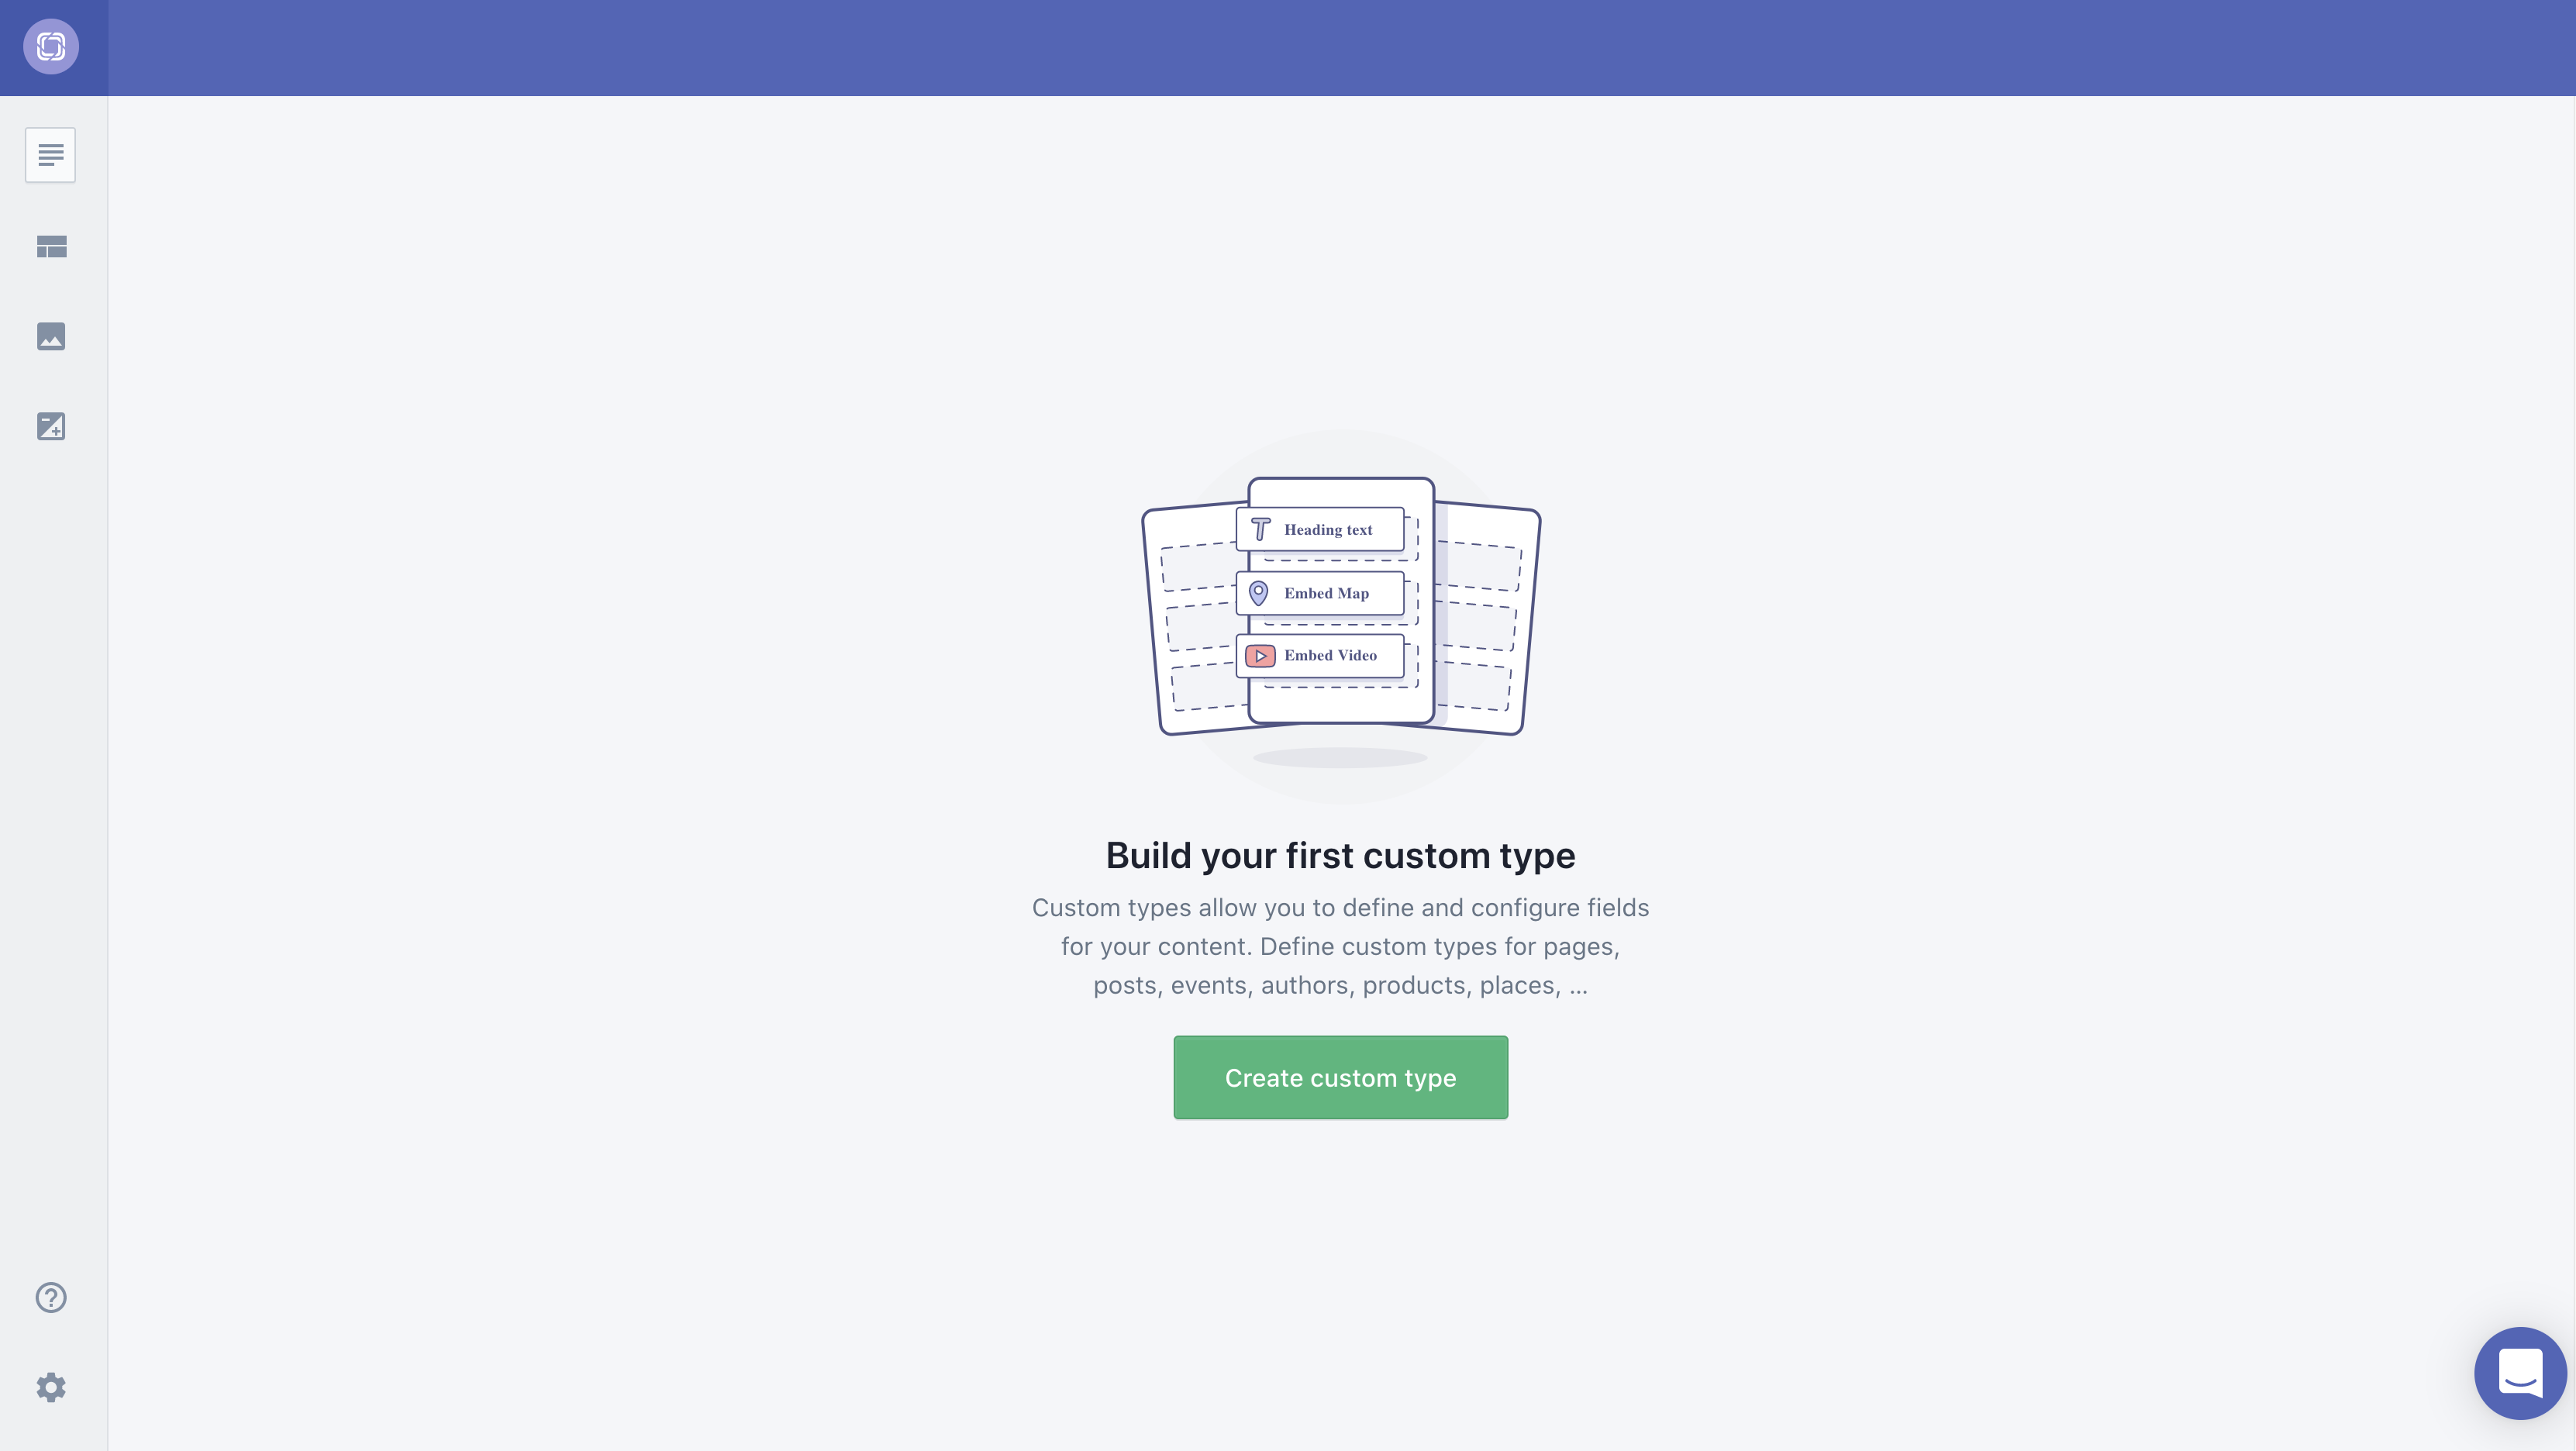
What Are Custom Types?
Custom types allow you to define and configure fields for your content. Some examples of custom types are pages, posts, articles, authors, recipes, events, products, etc… whatever blocks of content you need for your specific project.
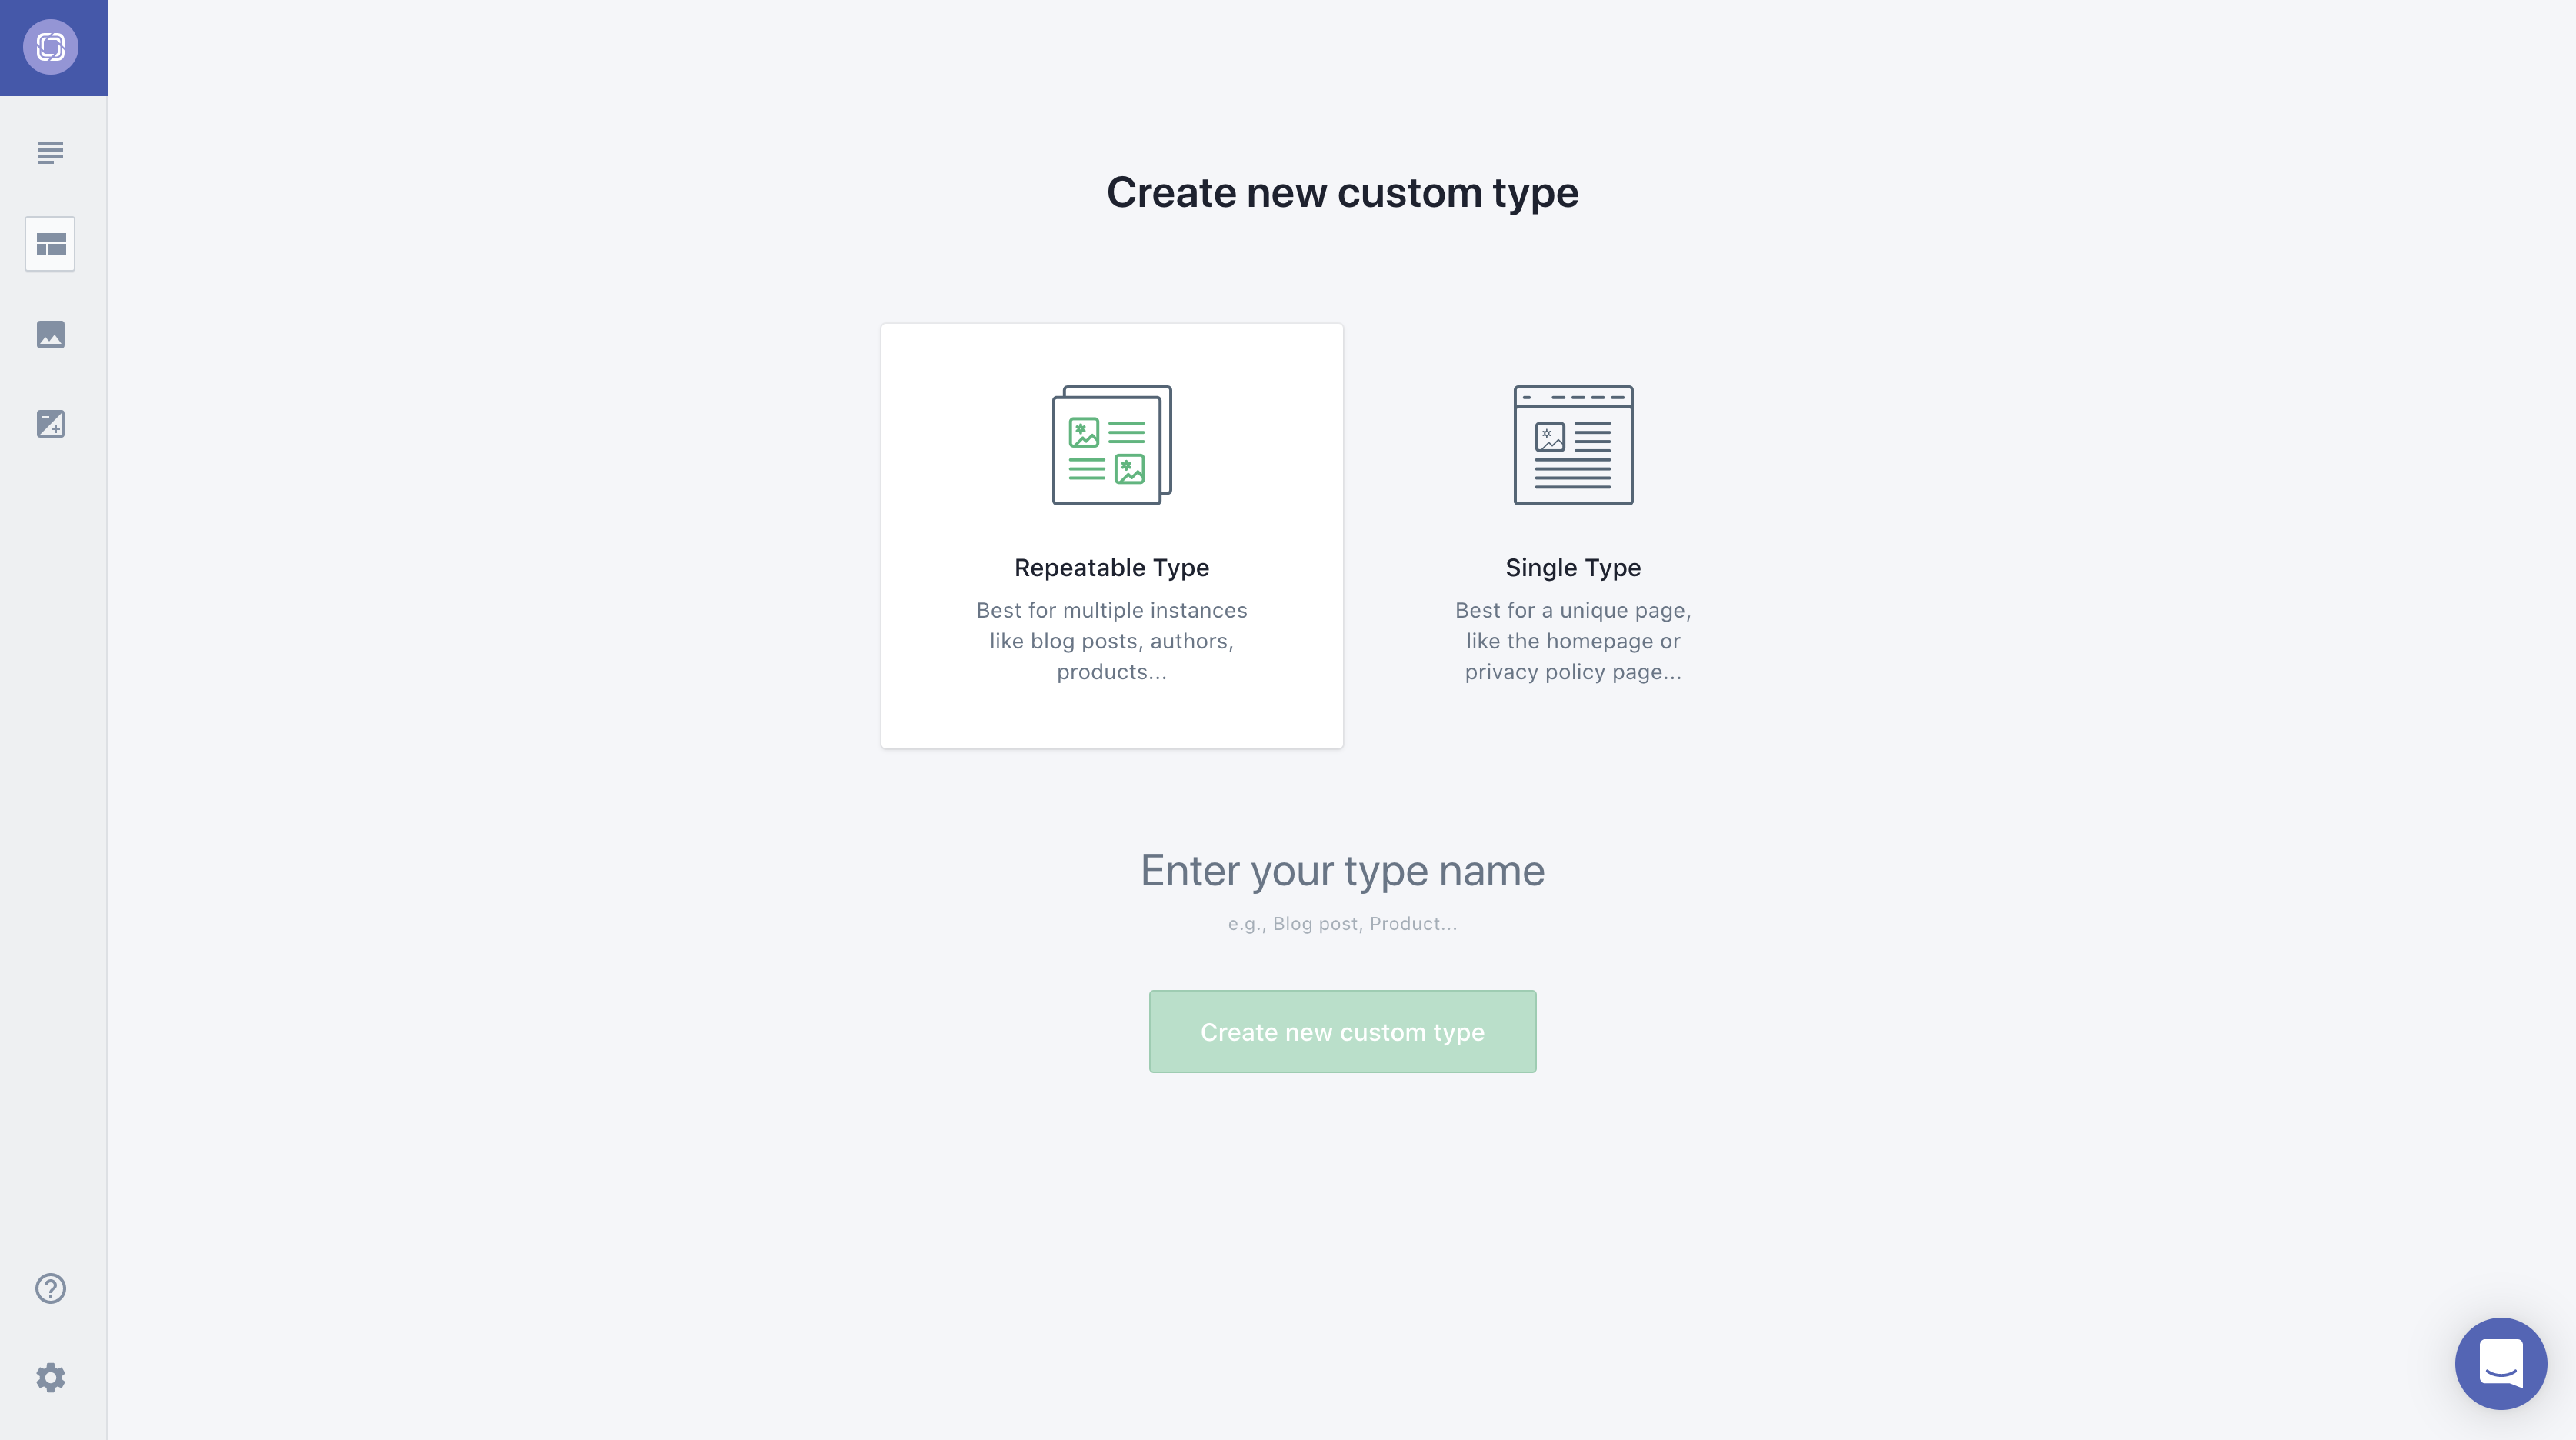
You have two categories of custom types to choose from: repeatable and single types. Repeatable types are for content that you will have more than one of, such as articles, products, places, authors, etc. Single types are for content that you only need one instance of, such as a homepage or a privacy policy page. If you define a custom type as a single type, you will only be allowed to create one instance of it.
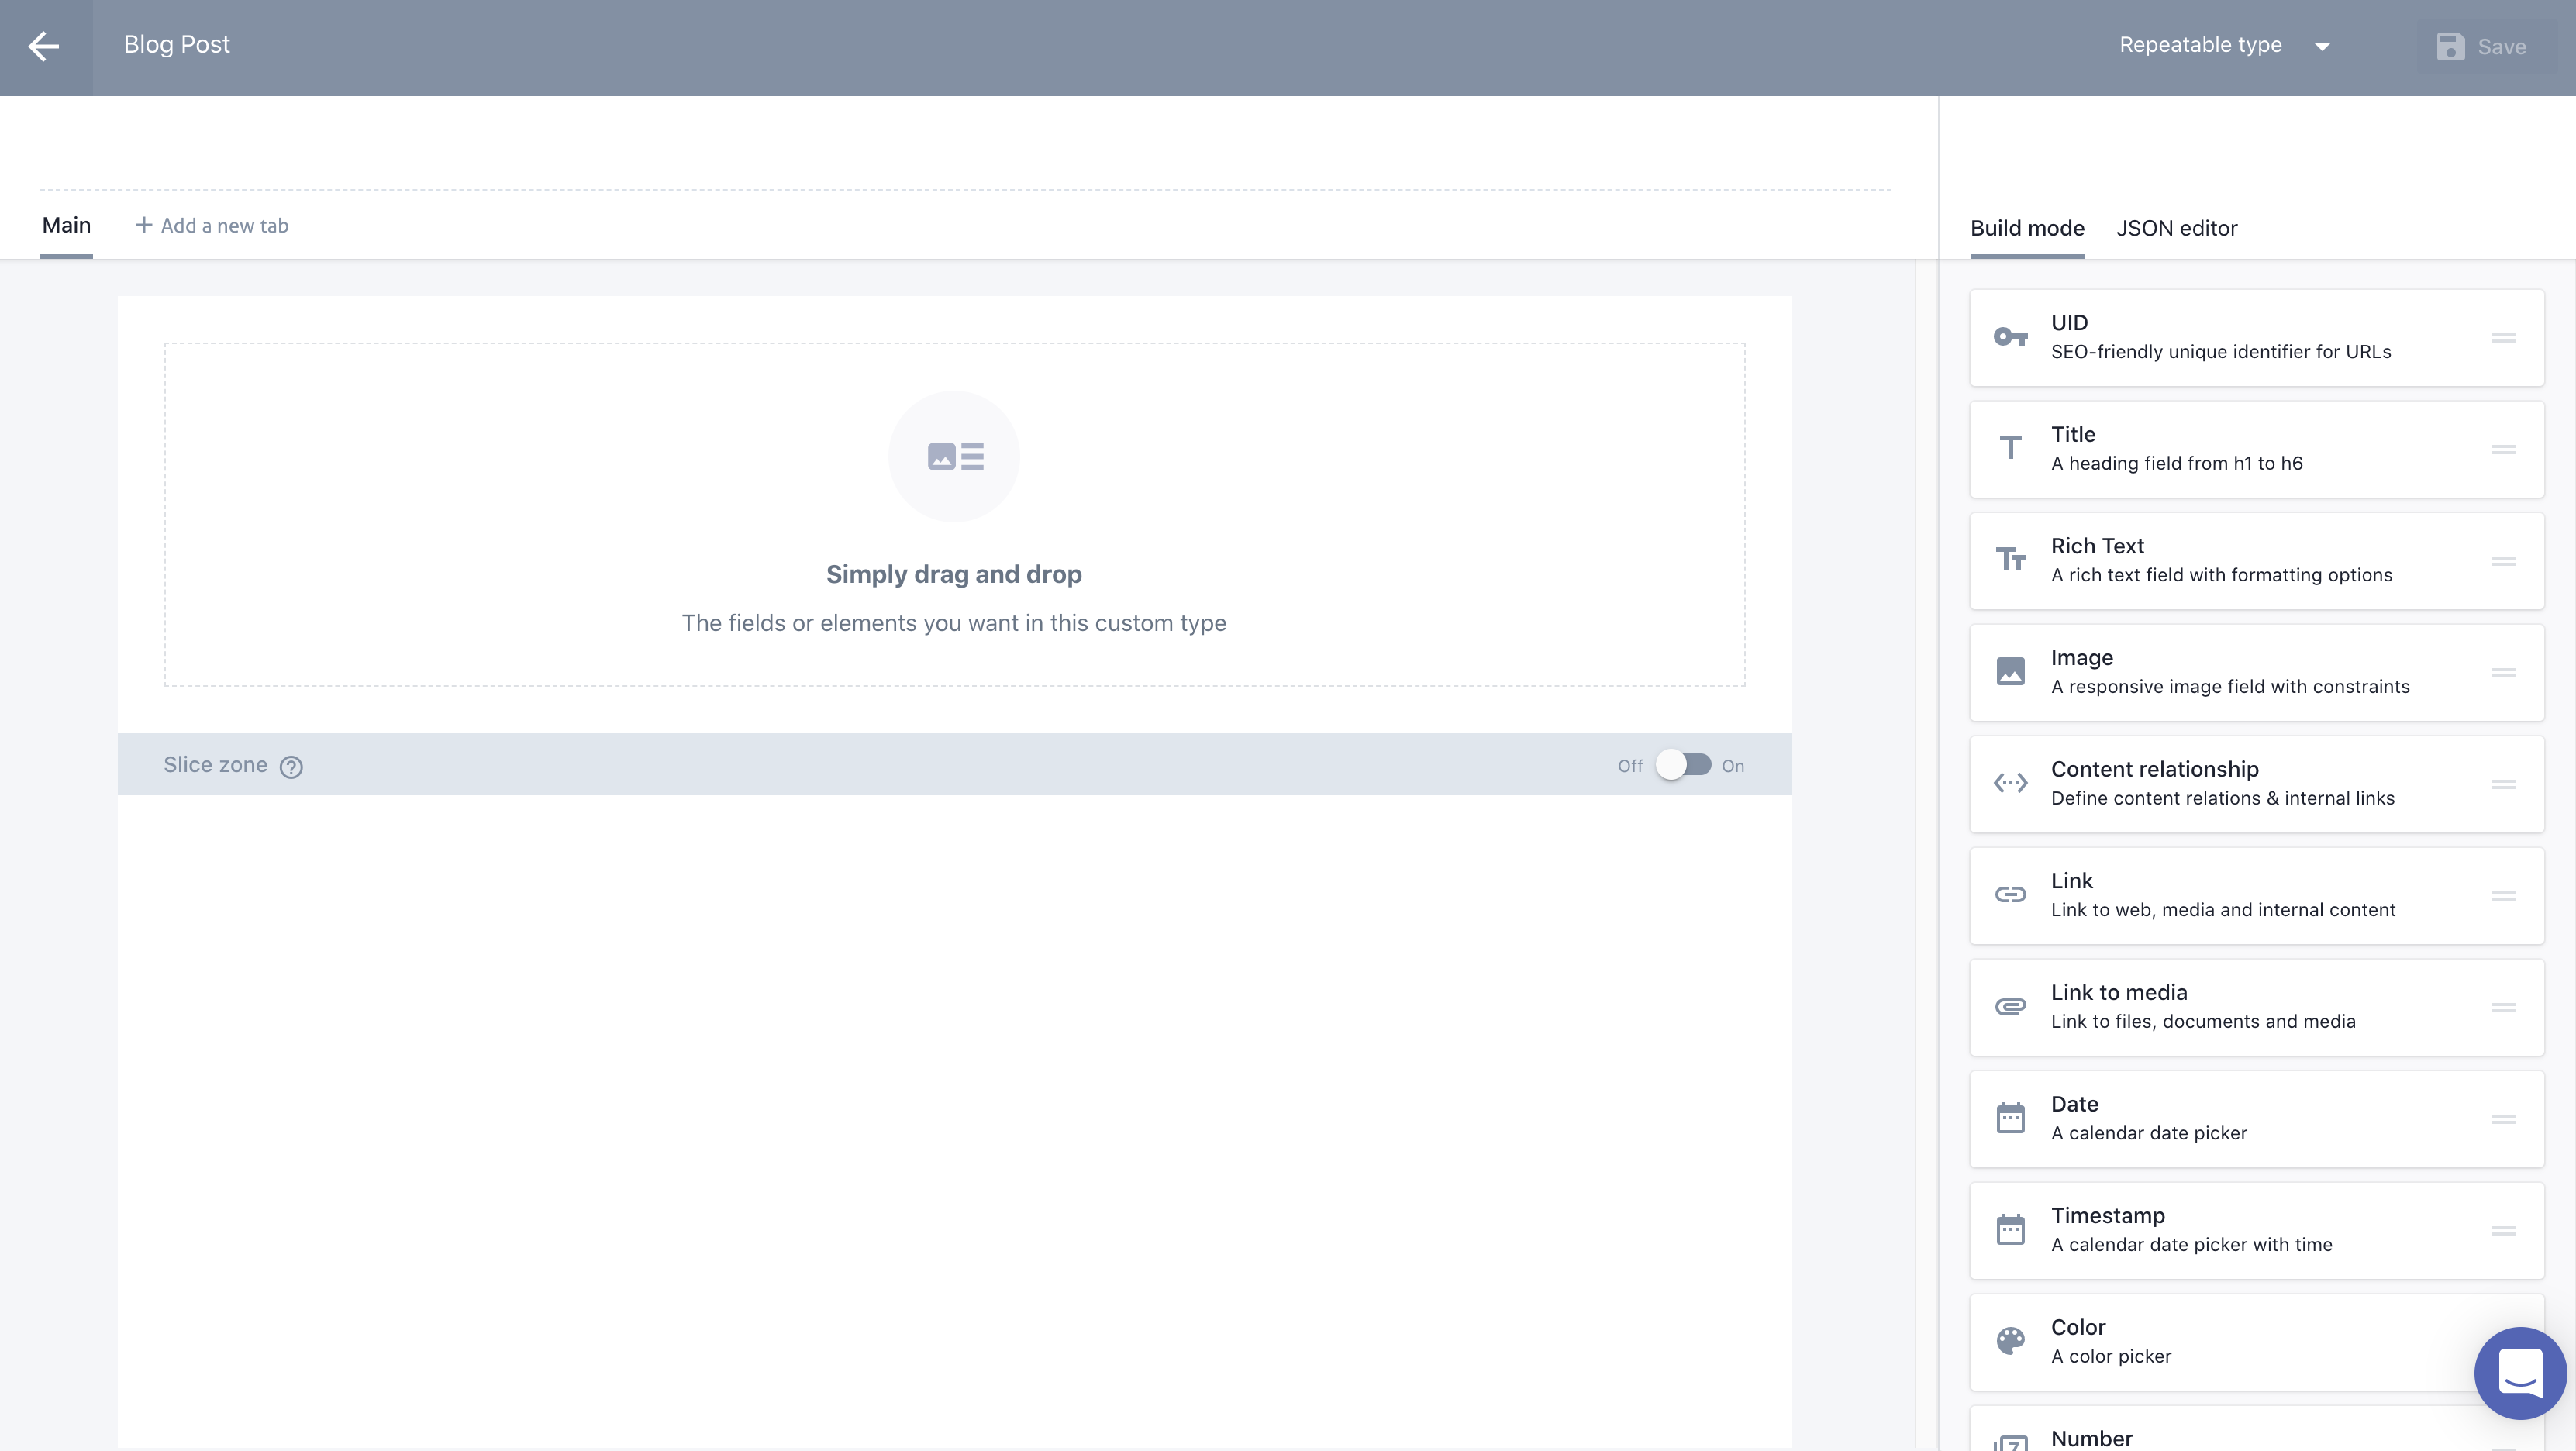
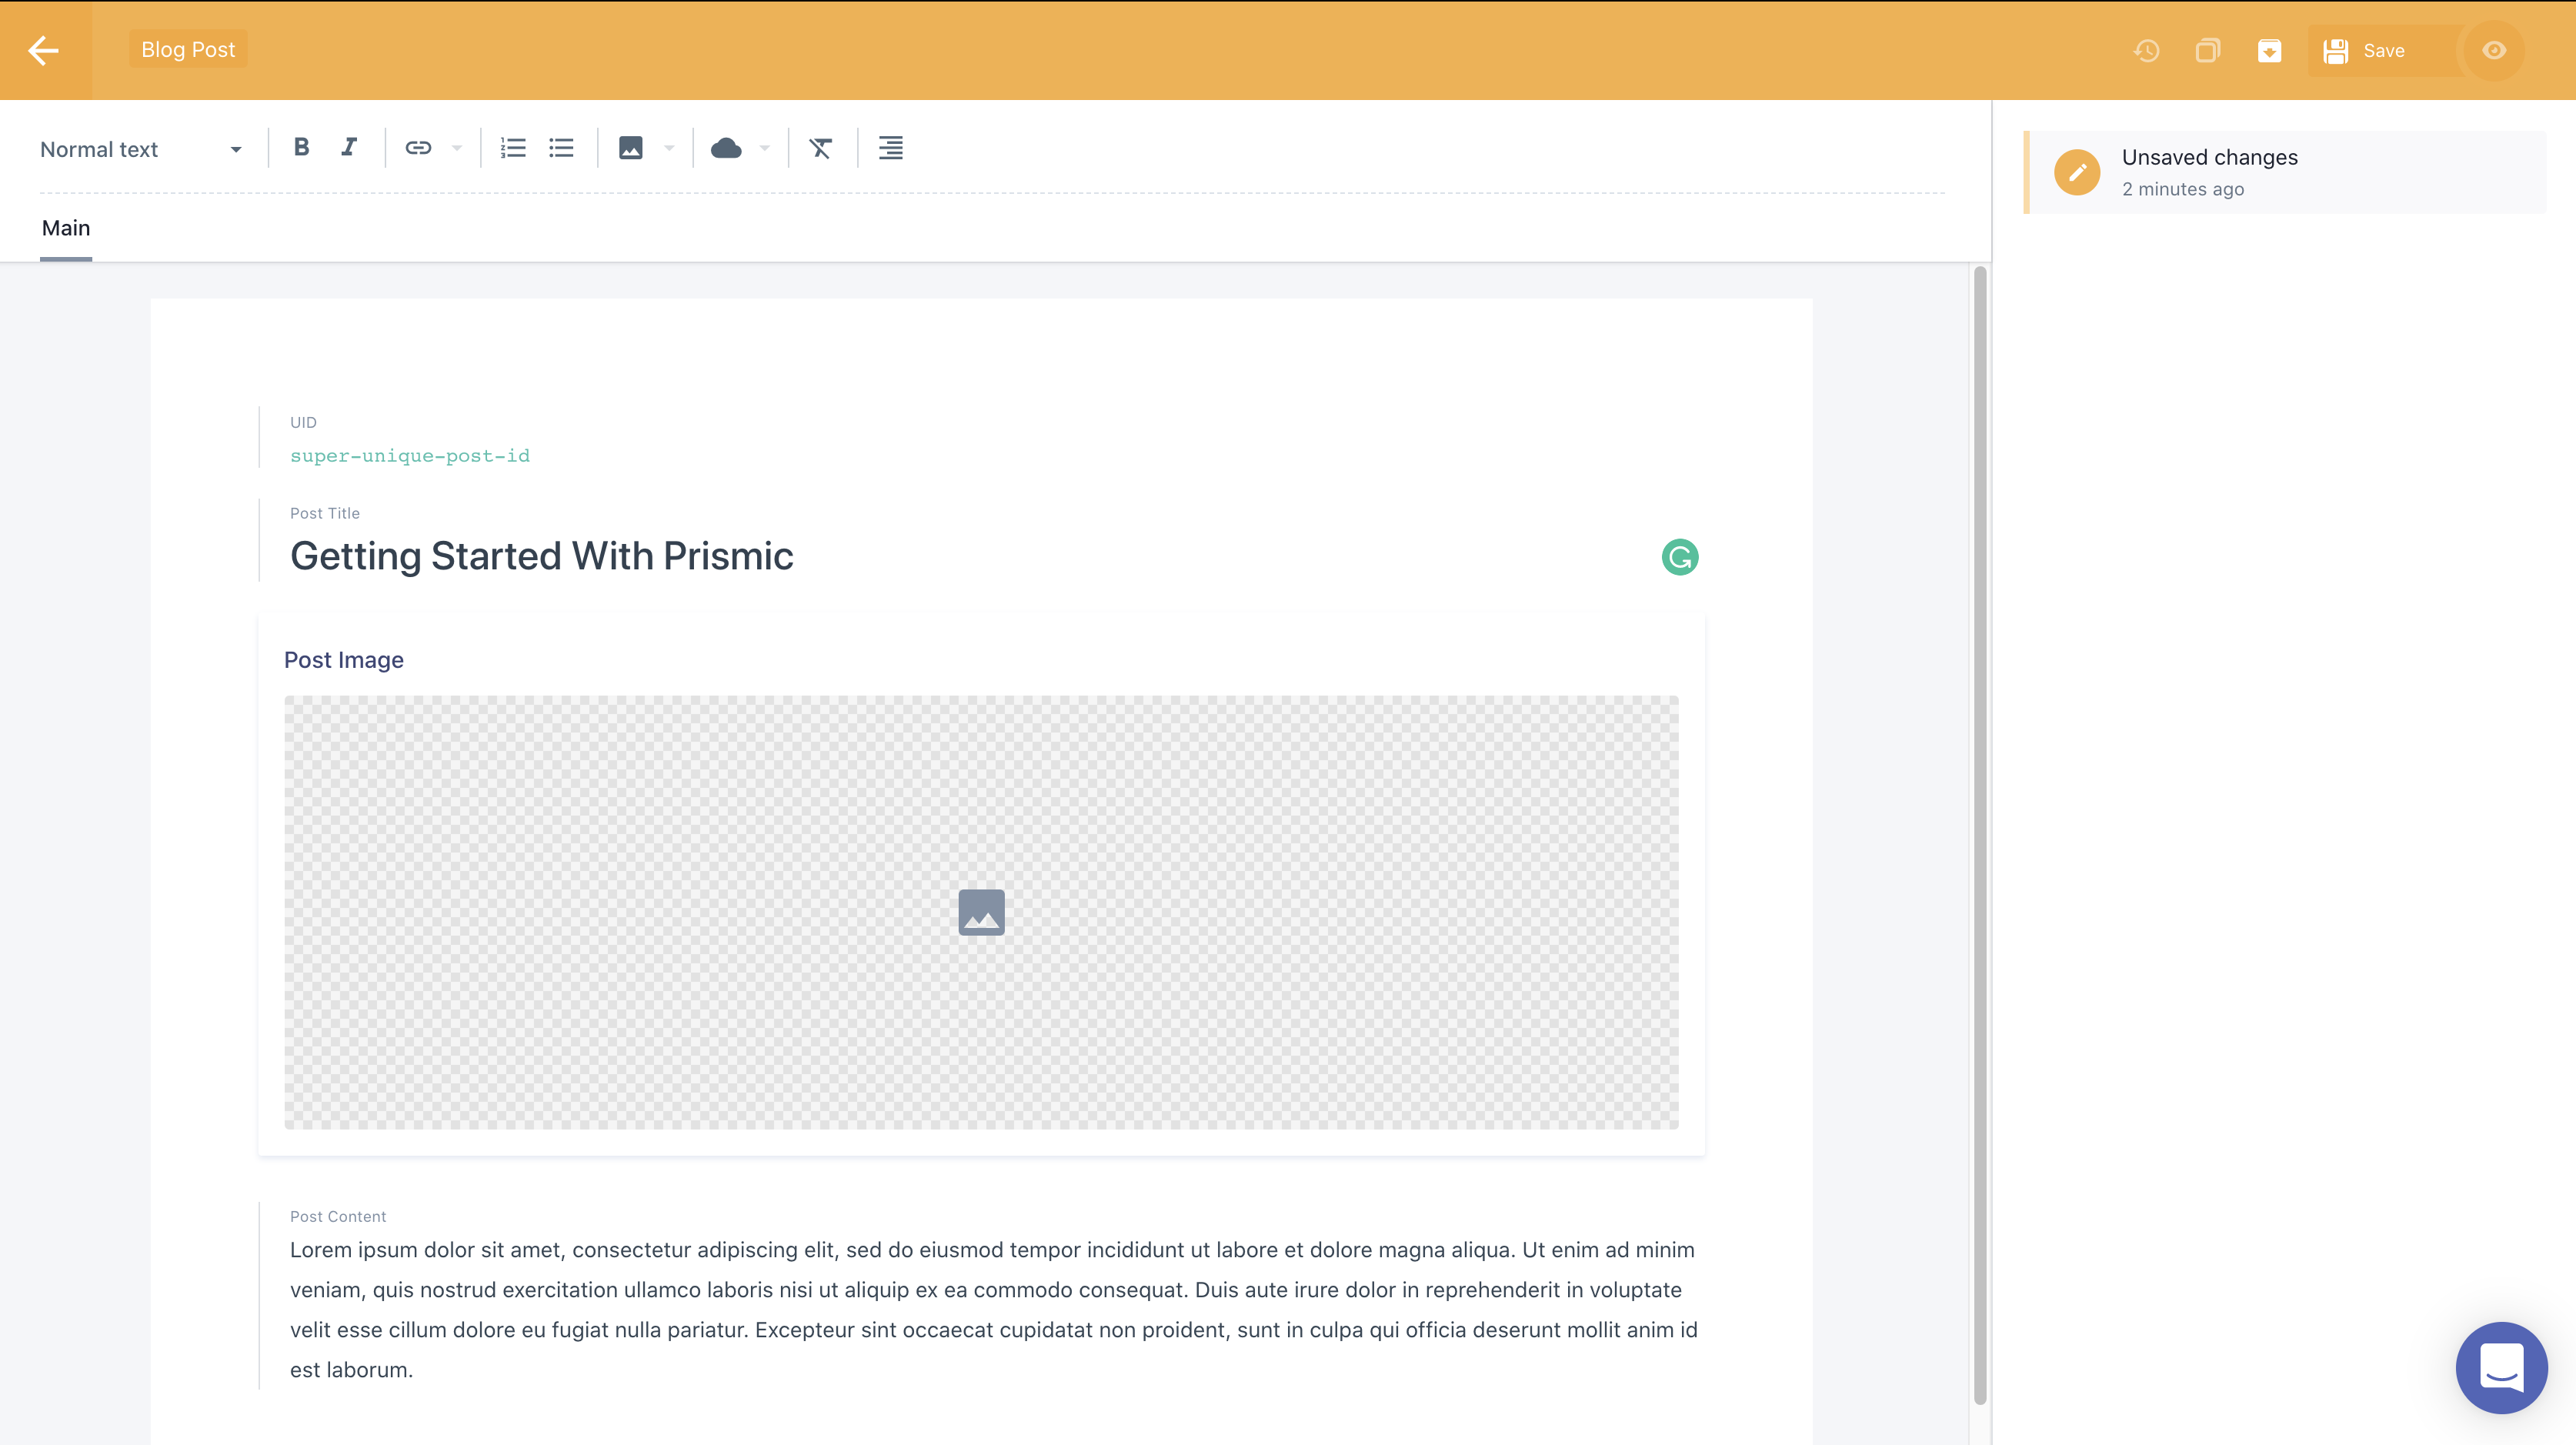
Once you have chosen between single or repeatable types, you will then be able to use a drag-and-drop builder to add content fields to the custom type. A variety of fields are available to add to your custom types, including rich text, images, dates, numbers, links, embeds, etc.
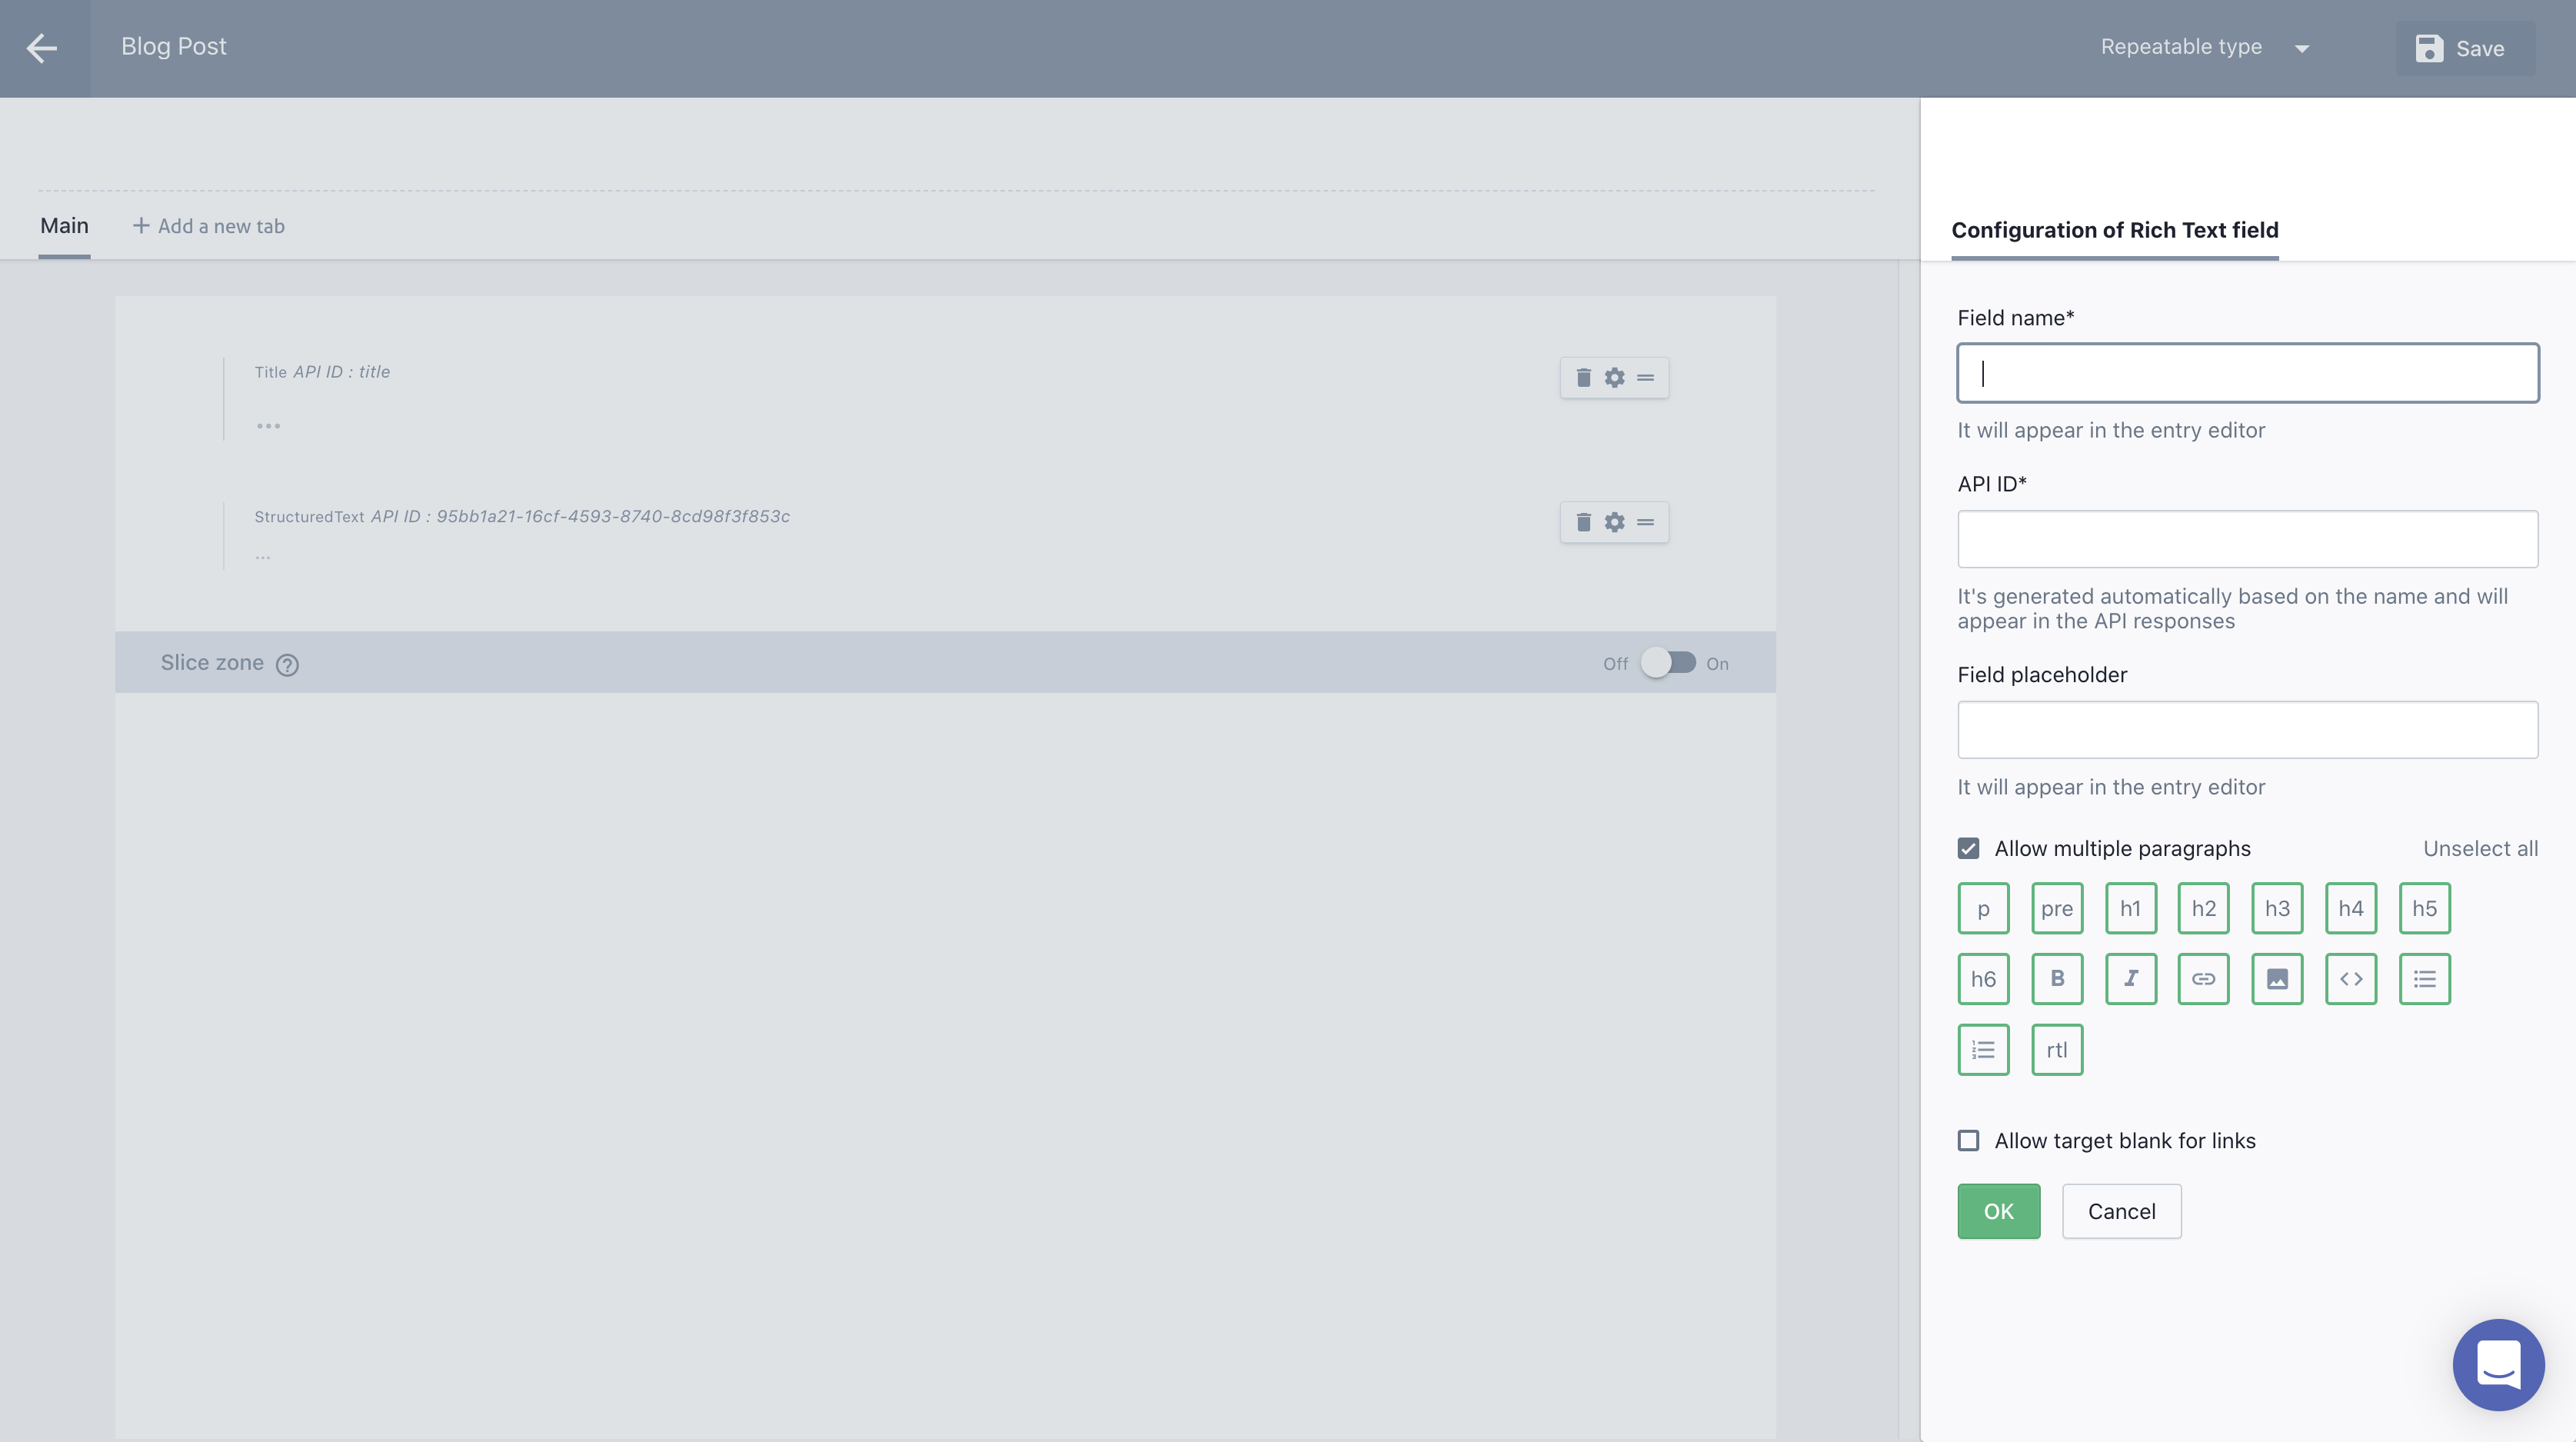
When you add a new field to your custom type, the field configuration panel will appear. Here you can modify the field’s settings including the field name, the API ID, and other field-specific options.
These configuration settings can all be modified later if need be.
You can organize your fields however you like. You can rearrange the order of the fields and can even put your fields into different tabs. This allows you to organize them in a way that makes it easiest for your content writers to fill in with content.
The “Add a new tab” button can be found at the top of the page and will create a new space onto which you can drag and drop your fields.
Each custom type also has advanced settings that are not available in the field configuration panel. To include or modify these advanced settings, use the JSON editor. You can switch between the drag-and-drop build mode and the JSON editor at the top of the page.
For more information about the available content fields and their options, refer to the documentation.
Slices
You will notice that when creating your custom types, you have the option to enable a slice zone. Slices allow you to define a dynamic zone for richer page layouts.
For example, in a blog post, defining a slice zone allows writers to choose between adding a slice for a text section, an image, or a quote. This gives writers the freedom to compose the blog post by alternating and ordering as many of these choices as they want or need.
Or if your custom type is a single type, such as a homepage, content creators can choose between the slices available when deciding what content should end up being displayed at any given time giving them much more power in determining what ends up being displayed to the end-user.
Prismic also includes quite a few pre-built slices for many common use cases.
Creating Documents
Documents are where you create your content utilizing the custom types that you have created. To create a new document, click the documents link in the left sidebar.
On the documents screen, click create and select which type of document you want to create.
I chose to create a new blog post (repeatable type) and filled in some of the fields with content and hit save. Saving a post does not publish it, but saves it as a draft. There is a second step for publishing your work which gives you several options for when and how you would like the new content to be published.
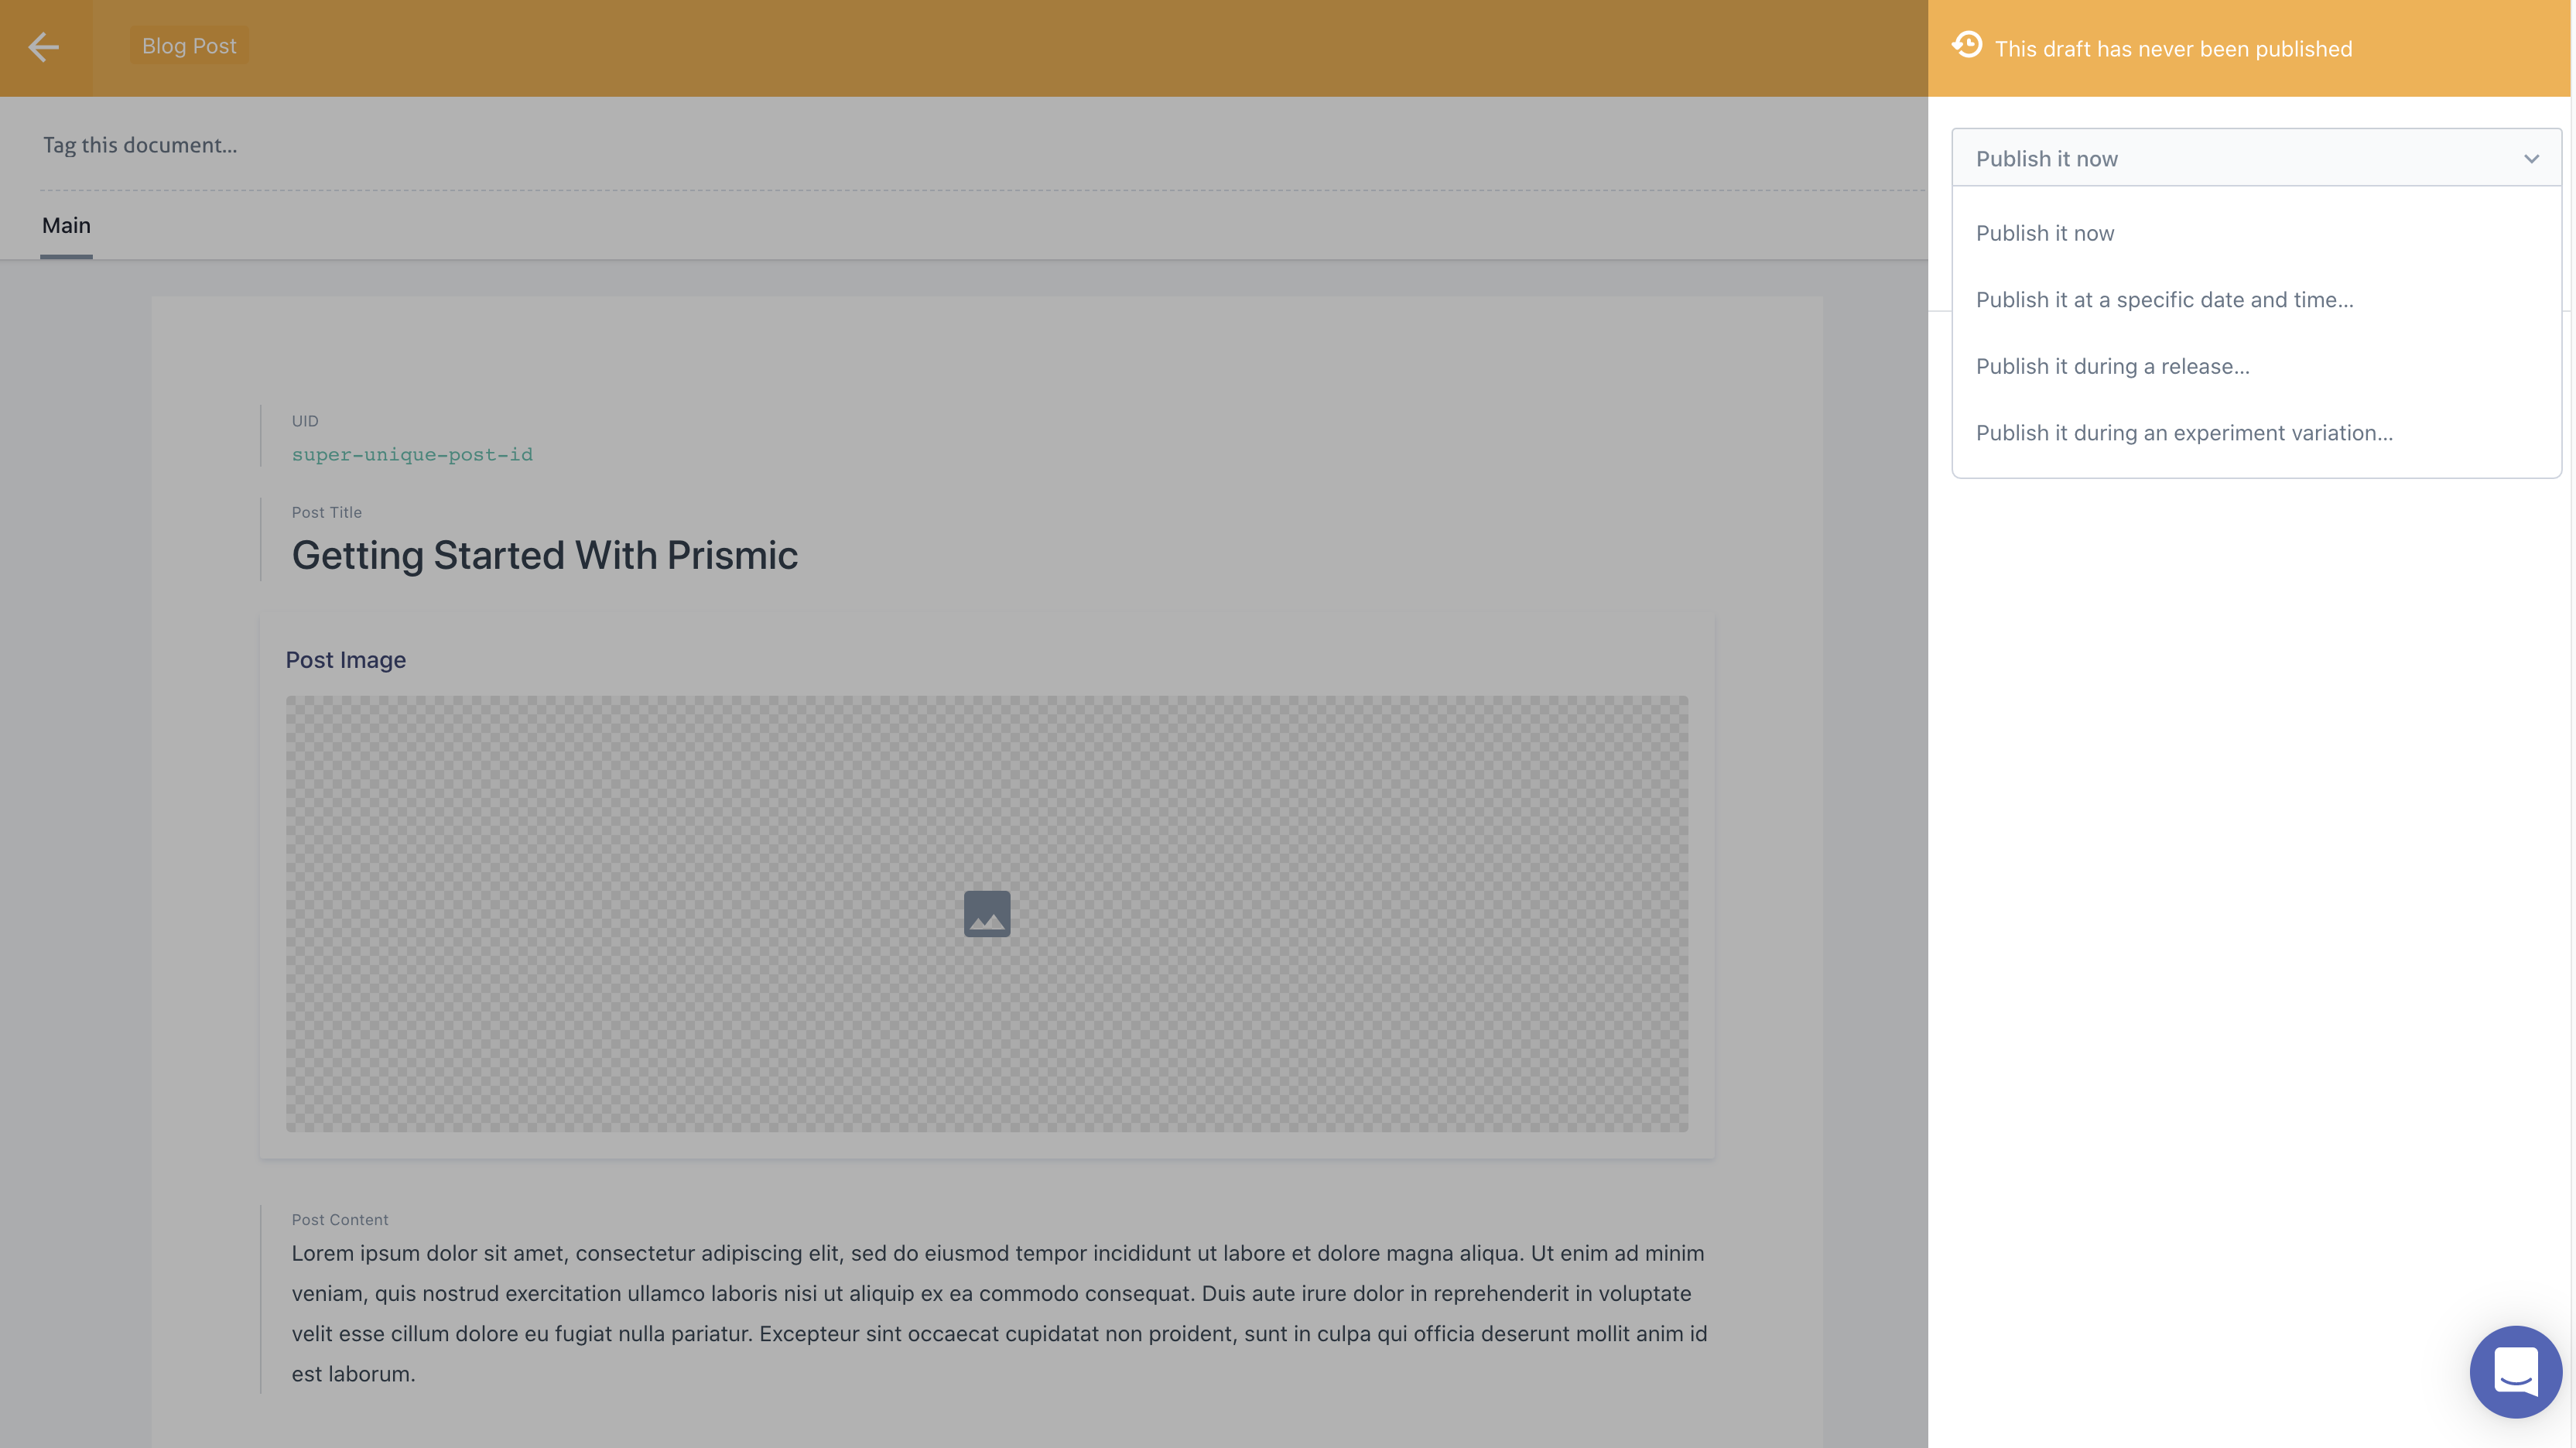
Prismic offers a nice editorial workflow out of the box allowing content creators and teams to save drafts, plan future work, and release dates for how and when to batch and publish the new content. The UI is simple and clean enough for non-technical contributors to get in and make meaningful contributions right away.
The Prismic API Browser
Every Prismic repository includes an API browser that makes it easy for developers to discover your API, test your queries, and display the JSON results. This allows them to quickly see and understand what data is available for them and how that data will be returned so that they can start building out the front-end (head) of your website and incorporating the content you created within Prismic.
Conclusion
If you went through the process of signing up and creating your first Prismic repository, you saw how quickly and easily it is to get set up with a flexible and customizable backend for your website in a matter of minutes. This process did not require writing a single line of code yet we are left with a robust backend, CMS, and API that is ready to be consumed by the developers building out your website.
Need help with Prismic?
If you need help, head over to the Cadence Labs contact page, or email us at [email protected].